

Contents
- Contents
- Prerequisites
- Introduction
- Installing WSL
- Setting up Visual Studio Code
- Setting up Python
- Setting up Version Control
- Installing the gcloud CLI
- Installing Docker Desktop
- Setting Up Terraform
- Summary
Prerequisites
- Required: Access to a GCP account. Follow this guide to get your own.
Introduction
Before you can begin developing and deploying your apps and services to GCP, it’s a good idea to take some time to set up a development environment on your local machine. A local development environment that is correctly setup for your needs will provide you with a number of benefits. You’ll be able to develop much faster and more cost effectively than having to repeatedly deploy and debug your code in the cloud. You’ll be able to work even when you don’t have a reliable internet connection, such as when you’re on the move. You’ll also be able to experiment with different tools and configurations without having to pay for any cloud resources.
In this article, we’ll look at how we can set up an example local development environment for developing, testing, and deploying code and infrastructure to GCP. Our example development environment will use Python as the preferred programming language, Github (and git) as the version control provider, Terraform for provisioning cloud infrastructure, Visual Studio Code for our integrated development environment and the gcloud CLI for cloud administration tasks. We’ll be using Ubuntu via the Windows Subsystem for Linux (WSL) to run our development environment. You can use this example environment as-is for your own needs, or you can customize it further if it does not meet your needs by installing additional programming languages or tools as required.
If you prefer not to set up your own development environment, you can consider using google cloud shell. Some of the tools outlined here, such as python, docker, git and the gcloud CLI are pre-installed on cloud shell. Cloud shell is free to use if you have signed up for google cloud platform. Note that cloud shell offers a maximum of 5gb of persistent disk storage and usage quotas apply, so this may not be suitable for more complex development needs.
Installing WSL
Assuming that you’re a windows user running Windows 10 or Windows 11 (see full pre-requisites here), we’ll start setting up our development environment by installing the Windows Subsystem for Linux (WSL). WSL allows you to run a Linux environment on a Windows machine. Many of the tools we will need for cloud development run best on linux based systems, so having access to a linux based environment for development will help to streamline the development process. Open a command prompt and run the following command to install the default linux distribution, Ubuntu:
wsl --install
Note that you may be prompted to run the above command with admin privilege’s. Alternatively, you can install a different distribution by listing the available distributions and then running the install command with the -d flag and providing the name of your preferred distribution:
# list available distributions
wsl -l -o
# install preferred distribution
wsl --install -d <distribution-name>
It can take a few minutes for the install process to complete. Once complete, you may need to reboot your system for changes to take effect.
For the rest of this guide, we’ll be using the latest Ubuntu distribution at the time of writing, Ubuntu-22.04. If you opt for a different distribution, you may need to follow different steps than those listed in this article to complete the development environment setup.
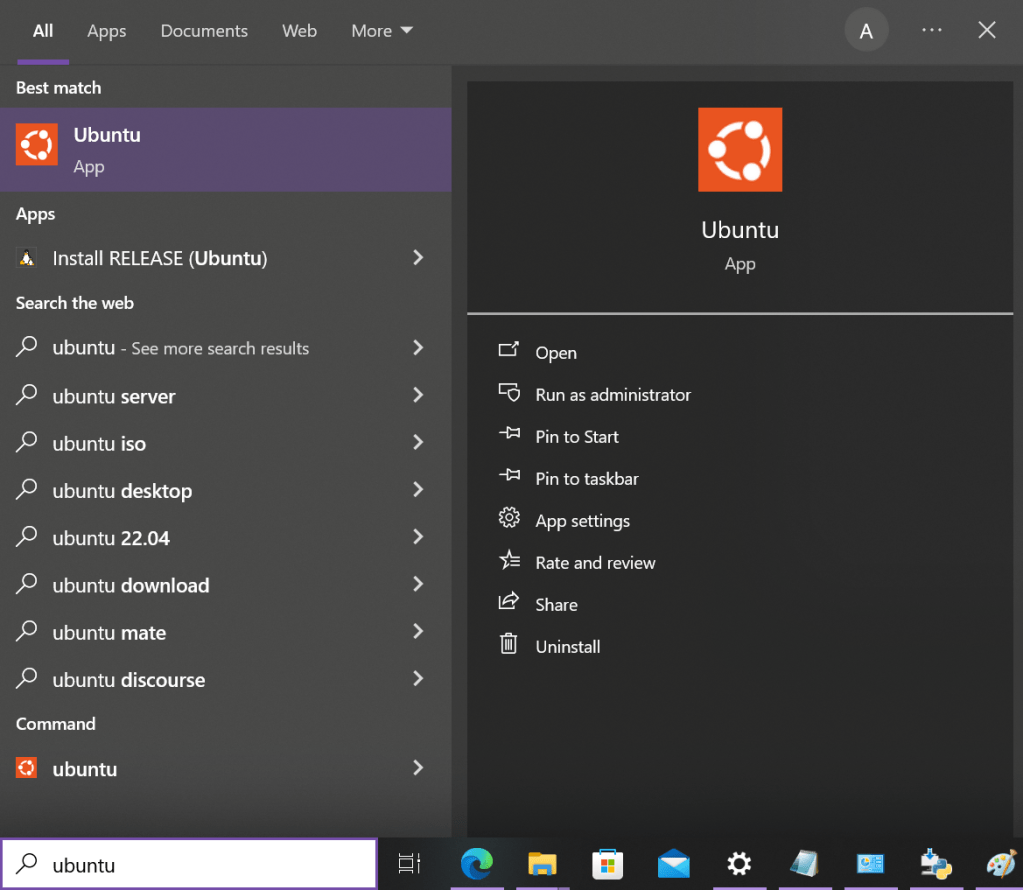
After rebooting, open the start menu and search for the distribution you installed. Once you find it, launch the distribution. This will open a terminal window and will prompt you to enter a username and password that will be used to create an admin user for the distribution you chose. When you launch WSL using this distribution, you’ll need to login using the password for the user you just created.
Setting up Visual Studio Code
Now that we have installed WSL, we will install Visual Studio Code. Visual Studio Code is a free, open source code editor that can be used to develop code in a number of languages. It has a number of features, such as integration with git for version control and support for extensions that we can use to add additional features as we need them.
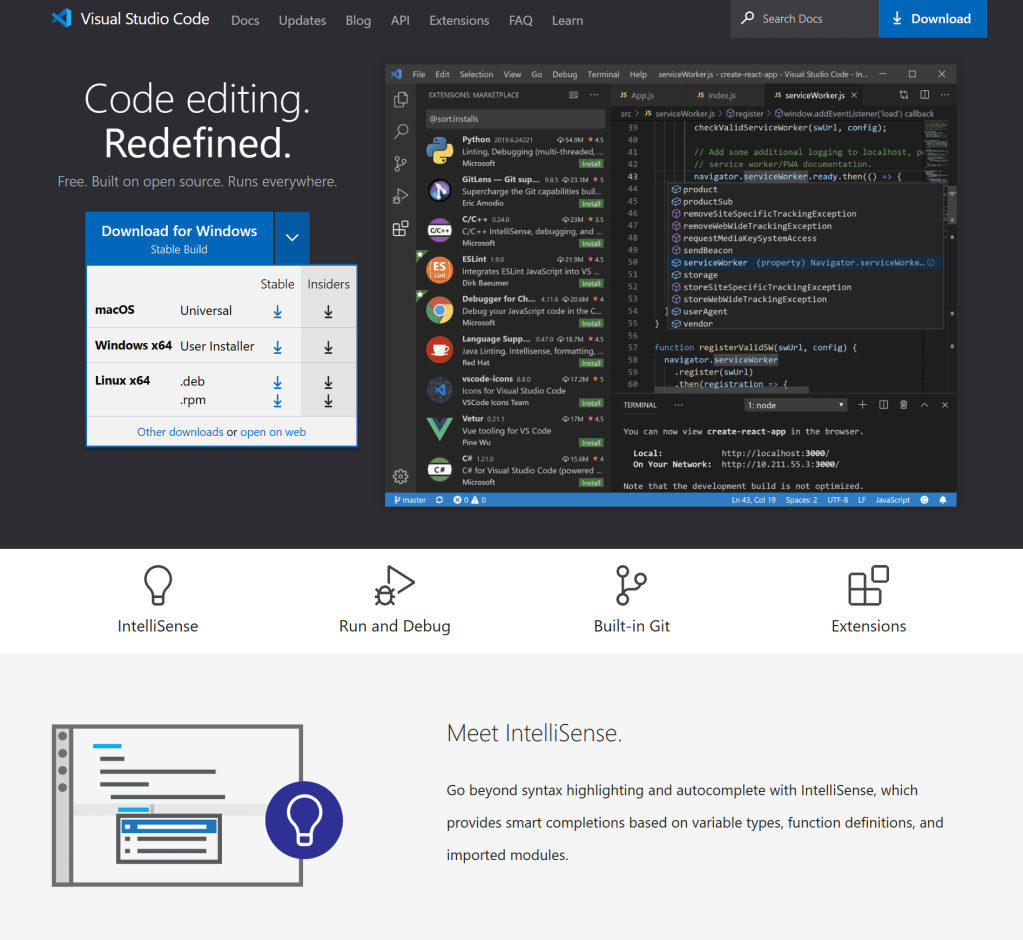
Head to the Visual Studio Code website and download the latest stable version of the app for Windows. You can do this from the home page by selecting the Windows option from the drop down at the top of the page. The download should start automatically after you choose the platform you want.
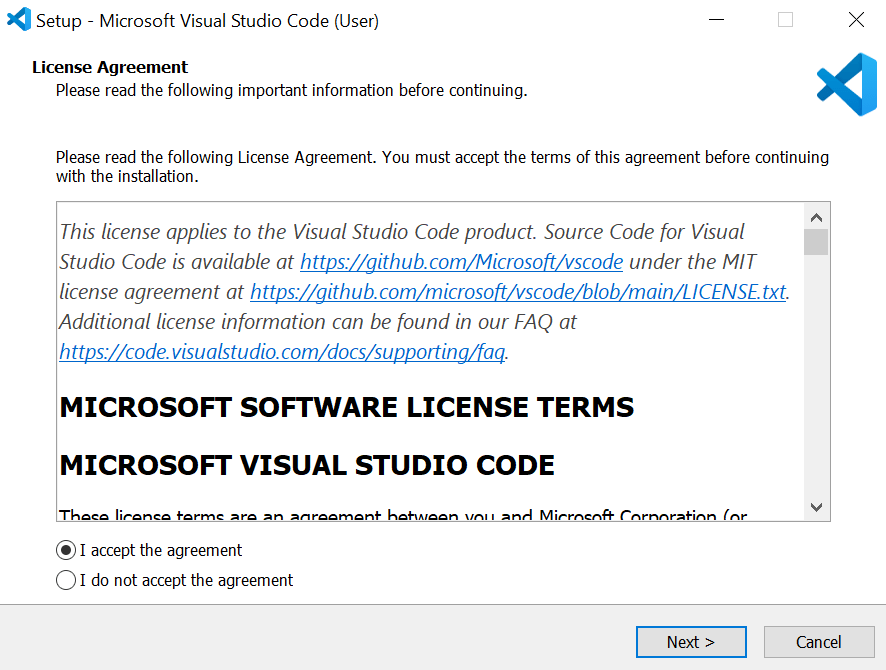
When the download finishes, navigate to your downloads folder and launch the visual studio code installer. When the installer window opens you’ll need to:
- Accept the license agreement.
- Choose an install location or accept the default.
- Choose the start menu folder that should store shortcuts, opt out having a start menu folder created or accept the default.
- Choose any additional tasks to be performed such as creating a desktop shortcut, or accept the defaults.
- Review your choices and then run the installation.
Once the install completes, search for visual studio code in your start menu (assuming you created a start menu entry) and open Visual Studio Code. To complete our setup, we need to connect Visual Studio Code to our WSL distribution so we can use it for development tasks:
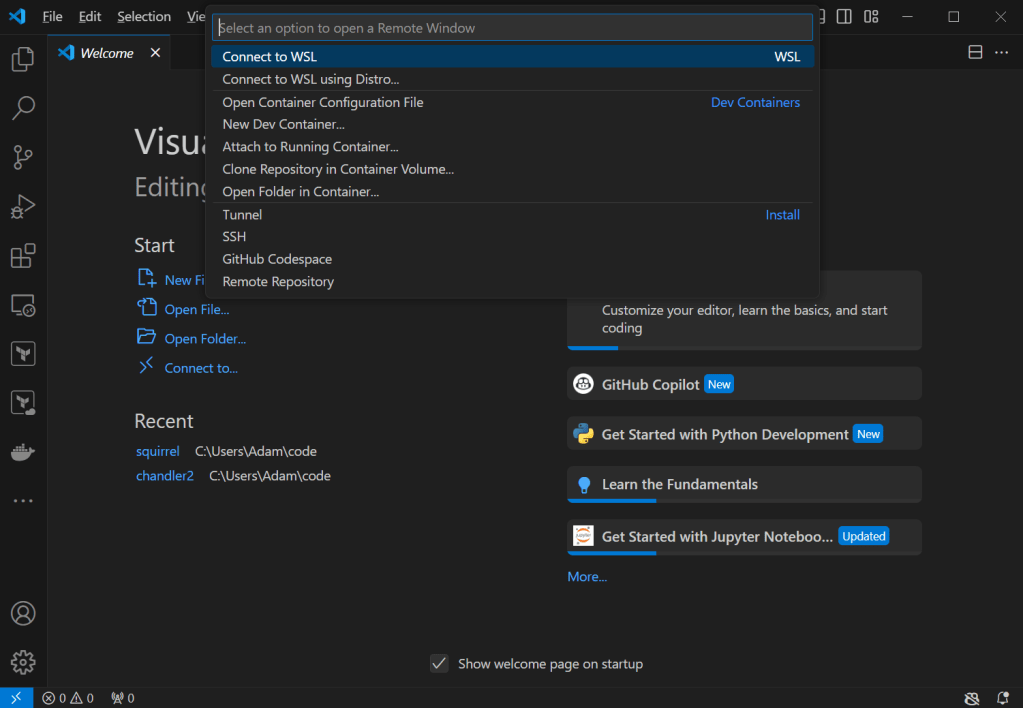
- When the editor window opens, click the small blue remote connection button in the bottom left corner to open a remote connection.
- From the drop down list that appears at the top of the window, select the ‘Connect to WSL’ option. Once the connection is created, the remote connection button will display the distribution it is connected to.
Note that to disconnect the remote connection, you can click the button again and then choose the close Remote Connection option from the drop down list.
Setting up Python
Now that we’ve set up our code editor, we can move on to setting up python and git. Before we get started, note that python is not the only language you can use for cloud development, so you may want to take some time here to investigate how you can install other languages to your environment. Some popular alternatives include java, go and javascript.
At this point, your code editor should be open and you should have a remote connection to your WSL distribution. In your code editor window, open a new terminal with Ctrl+Shift+’. This will open a bash terminal on your WSL distribution. Many linux distributions include tools such as python and git by default. You can check what versions of each you have by running the commands:
# check python version
python3 --version
# check git version
git --version
If you don’t have python installed, or you want to upgrade to a newer version, you can use the apt tool to install the latest version. For example, if you currently have python 3.10 and you want to upgrade to python 3.11, you can check if python 3.11 is available and then install it as follows:
# update list of available packages and upgrade
# installed packages
sudo apt update && sudo apt upgrade
# check for python 3.11 packages
sudo apt list | grep python3.11
# install python 3.11
sudo apt install python3.11
Note that this will keep both the default version of python and the new version of python on your system. to use the default version you can run the python3 command. to use python 3.11, run the python3.11 command.
Setting up Version Control
Next we’ll move on to setting up version control. For this we’ll be using the git command line tool, plus GitHub to host our remote code repositories for free. There are many version control providers that you can use git with, so you can use an alternative provider here if you wish.
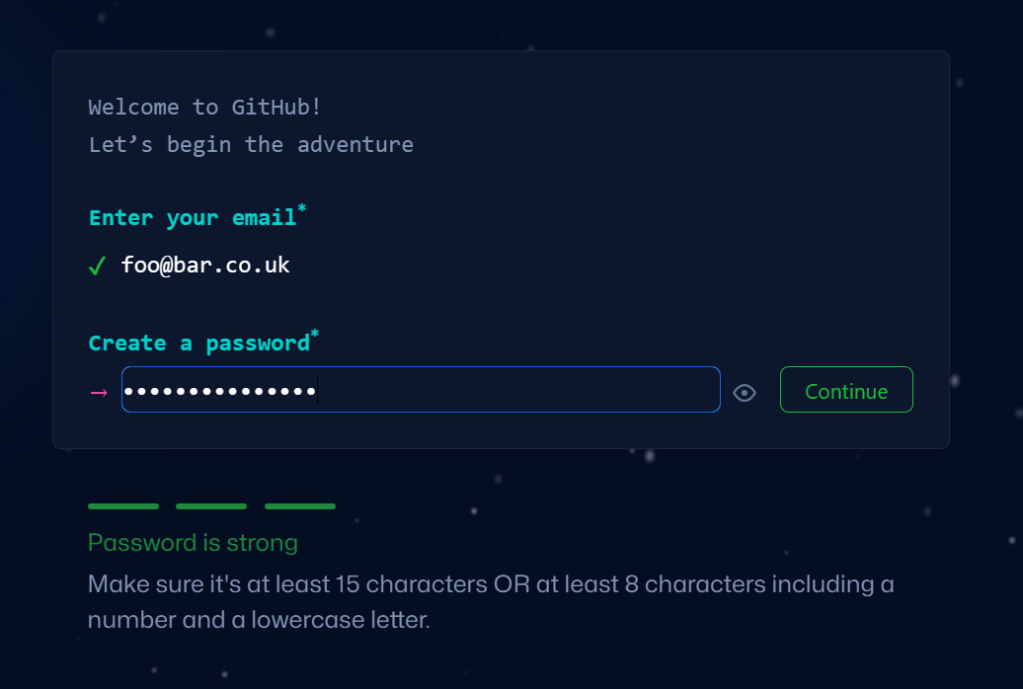
If you don’t already have a GitHub account, head to the website and click the sign up button on the homepage. Fill in the sign up form to create your account and then verify your email address to access the GitHub dashboard.
GitHub will allow you to create public and private code repositories. If you opt to create public code repositories, note that anything you add to them will be visible to anyone that views them. For this reason: do not store secrets in a repository. This includes passwords, API tokens, email addresses or anything else you would not like to be public knowledge.
Now that we have a GitHub account, we can finish setting up version control by configuring Git to use our Github account. Connect to your WSL ditribution and open a terminal in visual studio code if you haven’t already done so, and add your name and the email address of the GitHub account you created to Git’s global config. This will allow you to use these values for every code repository you create going forwards. For example:
git config --global user.name "Foo Bar"
git config --global user.email "foo@bar.co.uk"
There are additional steps you may also want to take to improve your experience with git, but we will not cover them in detail here. These steps include caching your GitHub credentials so you can avoid repeatedly typing your credentials when interacting with GitHub, or configuring Auto CRLF line endings, so you can use git on both windows and linux based systems without running into issues with line endings in your code files. If you want to customize your git setup further, I recommend taking a look at this guide.
Installing the gcloud CLI
The gcloud CLI is a command line tool that we can use to interact with many of the services offered by google cloud platform. We’ll install this on our WSL distribution along with the other tools we’ve installed so far, so make sure you’ve got your Visual Studio Code editor open and a WSL terminal open. To complete this part of the set up you’ll need to have a GCP account and ideally at least one project created. If you haven’t done this already, you can get a free trial with $300 of free credit by following the steps in this article.
We’ll start by installing some pre-requisite packages, a public key for installing the gcloud package, and adding the gcloud cli download url to the list of package repositories on our WSL distribution. Run the following commands to do this:
# install dependencies
sudo apt-get install apt-transport-https ca-certificates gnupg curl
# get public key
curl https://packages.cloud.google.com/apt/doc/apt-key.gpg | sudo gpg --dearmor -o /usr/share/keyrings/cloud.google.gpg
# register gcloud package repository
echo "deb [signed-by=/usr/share/keyrings/cloud.google.gpg] https://packages.cloud.google.com/apt cloud-sdk main" | sudo tee -a /etc/apt/sources.list.d/google-cloud-sdk.list
Now run the following command to install the gcloud cli. It may take a few minutes for the installation to complete:
sudo apt-get install google-cloud-cli
Once the installation is complete, we’ll need to finish the setup by configuring the gcloud cli to work with our GCP account. To do this, run the following command:
gcloud init

You’ll be prompted to log into your GCP account to authorize the gcloud CLI to work with your GCP environment. Follow the url output to your terminal and log in to your account, then click the allow button when prompted to allow the gcloud CLI to access your GCP environment.
In the terminal on the Visual Studio Code editor, you should now be prompted to choose a GCP project. The project you select will be used as the default project for any gcloud commands that you run. Choose the project you want to use by entering the number next to that project in the list on your terminal. Finally you will be prompted to set a default compute region and zone, but you can skip this step if you prefer. If you opt to provide this information, you can find a list of available GCP regions and zones here.
Installing Docker Desktop
Docker is a tool that we can use to build and deploy containerized applications. We can use docker to create our own containerized apps, or we can utilize existing containerized apps by connecting to container repositories such as Docker Hub. Google Cloud offers a number of services capable of running containerized applications, such as App Engine, Kubernetes Engine and Cloud Run. To work with containers locally, we’ll install the docker desktop application. You can download the docker desktop installer from the docker desktop product page on the docker website.
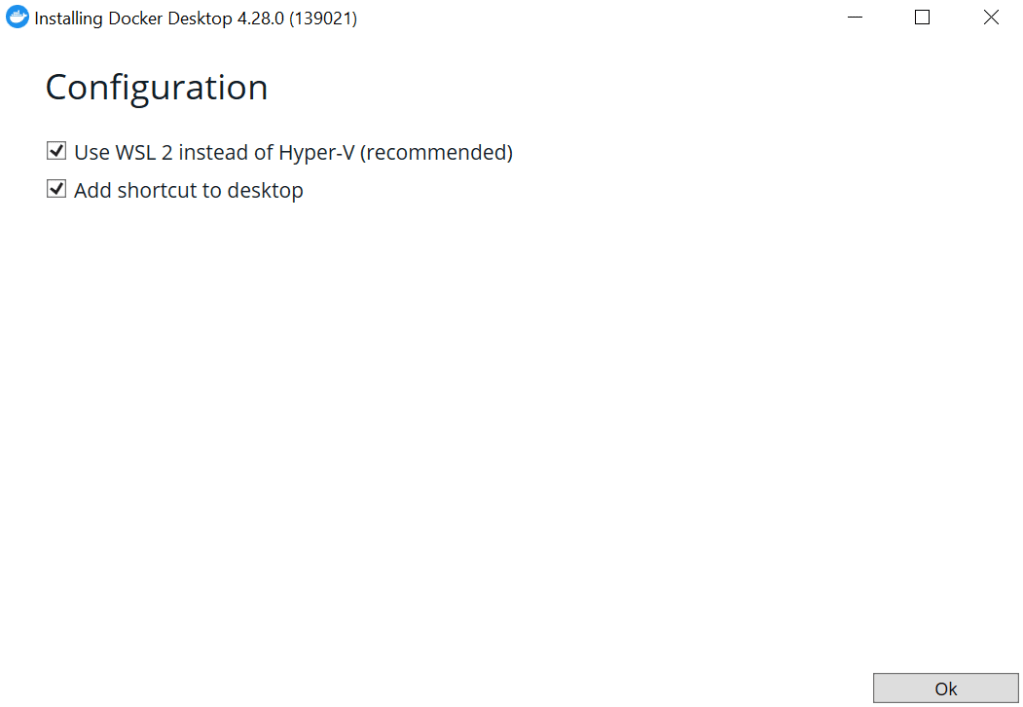
Once you’ve downloaded the docker desktop installer, start it, and you’ll be prompted to choose using WSL or Hyper-V with docker and whether or not you want to create a desktop shortcut. Leave the WSL checkbox ticked and decide whether or not you want a shortcut, then click the ok button to begin the installation.
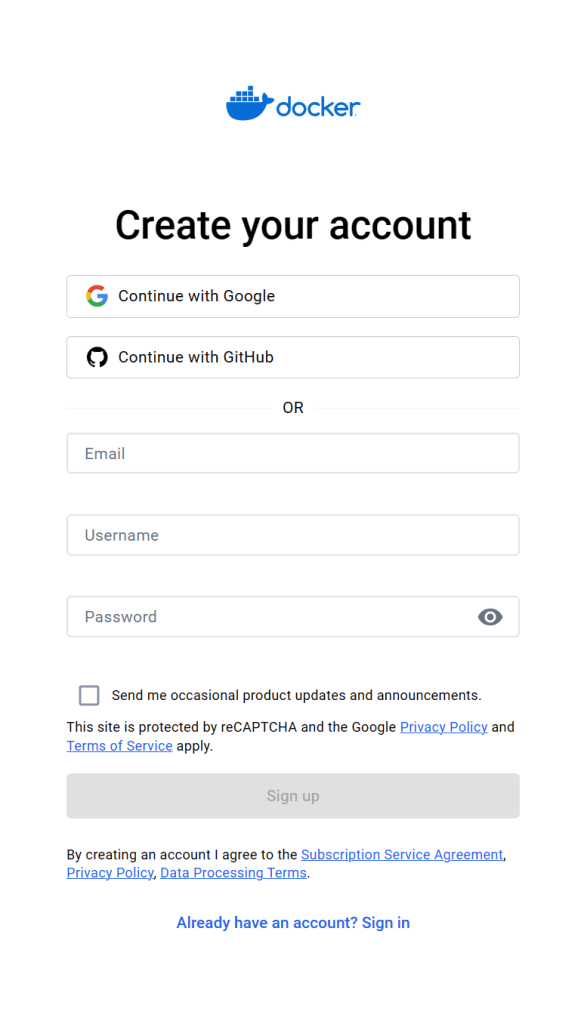
When the installation process completes, launch docker desktop. Accept the docker service agreement when prompted, and then sign in, or sign up to docker if you don’t already have an account. At the time of writing, Docker is free to for personal, non-commercial open source and small business usage (for businesses with less than 250 employees and $10 million in annual revenue). Once you sign in, the docker engine should start up automatically. In your Visual Studio Code editor, run the following command in your WSL terminal:
docker --version
If you completed the setup successfully, the version of docker you installed should be printed when you run the command.
Setting Up Terraform
The final tool we need for our development environment is Terraform. Terraform is an infrastructure as code tool that you can use to automate the provisioning of cloud infrastructure. We’ll install terraform using the WSL terminal running in our Visual Studio Code editor. In the terminal, run the following commands to make sure you have the required dependencies installed:
sudo apt-get install gnupg software-properties-common
Next, grab the public key we’ll need to install terraform:
wget -O- https://apt.releases.hashicorp.com/gpg | gpg --dearmor | sudo tee /usr/share/keyrings/hashicorp-archive-keyring.gpg > /dev/null
Add the hashicorp package repository to your system and update your package list:
echo "deb [signed-by=/usr/share/keyrings/hashicorp-archive-keyring.gpg] https://apt.releases.hashicorp.com $(lsb_release -cs) main" | sudo tee /etc/apt/sources.list.d/hashicorp.list
sudo apt update
Finally, install terraform by running:
sudo apt install terraform
You can verify that terraform was successfully installed by running:
terraform -help
If the installation was successful, a list of subcommands should be printed to the terminal window.
When you deploy infrastructure with terraform, terraform will create state files to track the state of deployed infrastructure in the same directory that you run terraform commands from. This is fine for prototyping and development purposes, but not suitable for deploying production grade infrastructure. In a later article, we will examine a better approach to managing state files and deploying infrastructure to GCP. For now though, I recommend looking at the terraform GCP tutorials if this is your first time working with terraform.
Summary
In this article, we looked at setting up a local windows based development environment for developing apps and services for Google Cloud Platform. We installed:
- Windows Subsystem for Linux (WSL), which gives us a local linux environment that we can use for development purposes. We installed the ubuntu distribution, but other distributions are also available.
- The Visual Studio Code editor, a tool for writing and managing code, plus connecting to our WSL distribution so that we can access the development tools installed there.
- Python, a programming language we can use for developing apps for the cloud. This was pre-installed on our WSL distribution, but we looked at ways to upgrade to a newer version, if one is available.
- Git, a version control tool we can use for managing changes to our code. We also looked at signing up for GitHub and performing some basic configuration to make it easier to connect our local Git tool with GitHub when we want to push changes to a remote code repository.
- The gcloud CLI, a command line tool that we can use to perform administrative tasks on many google cloud services.
- Docker, a containerization tool that we can use to build our own containerized applications, or utilize existing ones. GCP offers a number of services for running containerized applications, such as app engine, cloud run and kubernetes engine.
- Terraform, an infrastructure as code tool that we can use to describe and deploy cloud infrastructure to support any applications we want to deploy to GCP.
This setup should provide you with the core tooling that you’ll need to engineer your own apps and services for Google Cloud Platform. If you are unfamiliar with any of the provided tooling, I encourage you to take the time to familiarize yourself with the tools listed here. You may also want to take some time to customize this setup if the tooling does not quite meet your needs. You can modify the configuration of the tooling provided here and install additional tooling as required. In later articles, we will look at how to use this development environment in practice.


Leave a comment